Vinyl Numbers



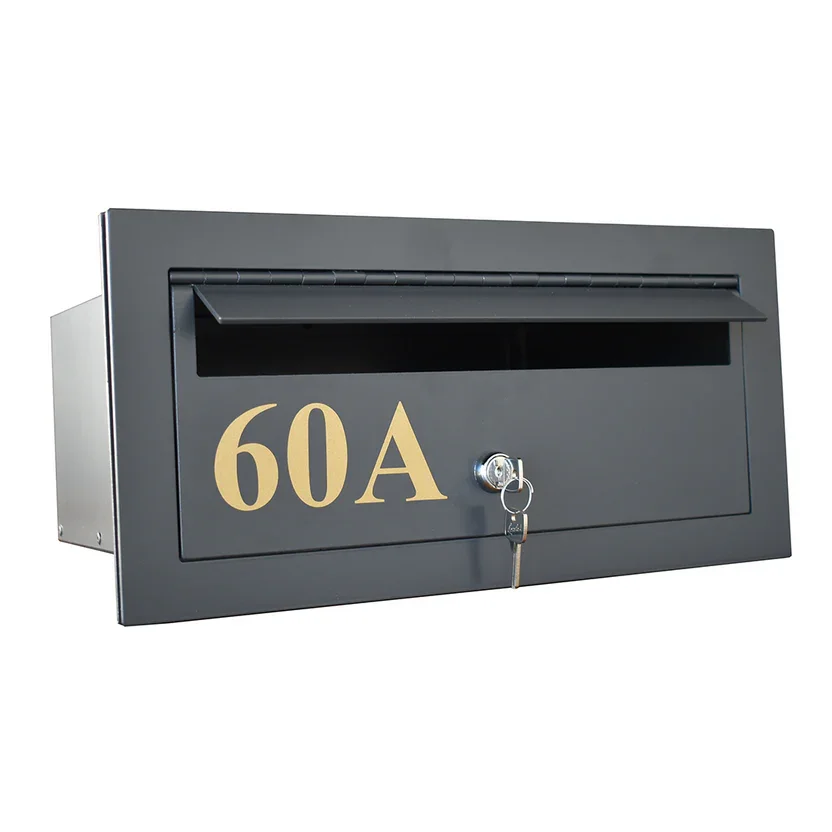
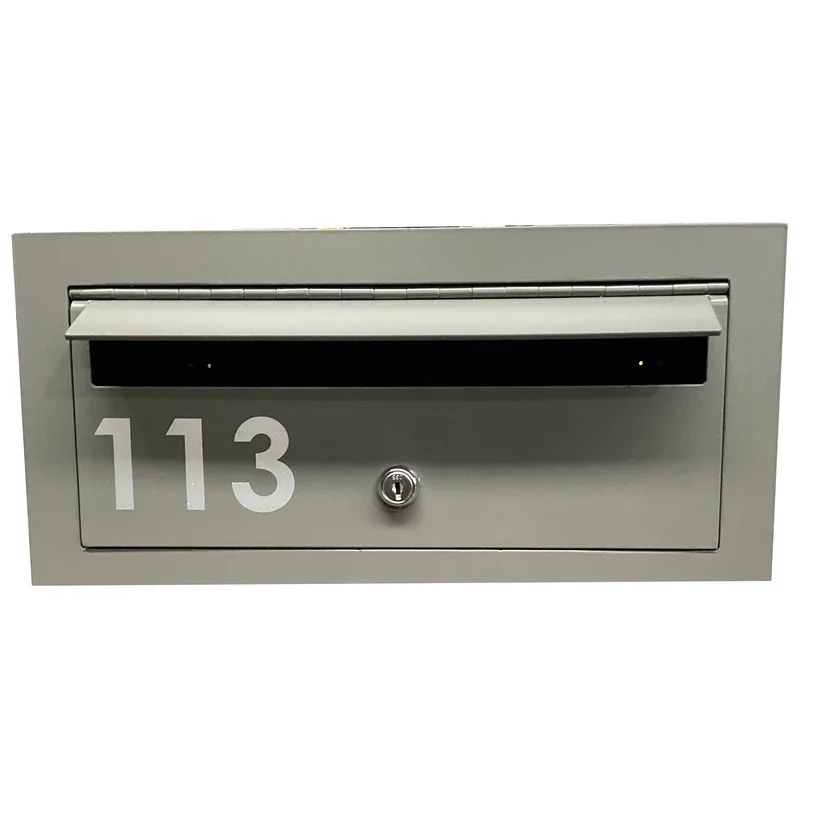
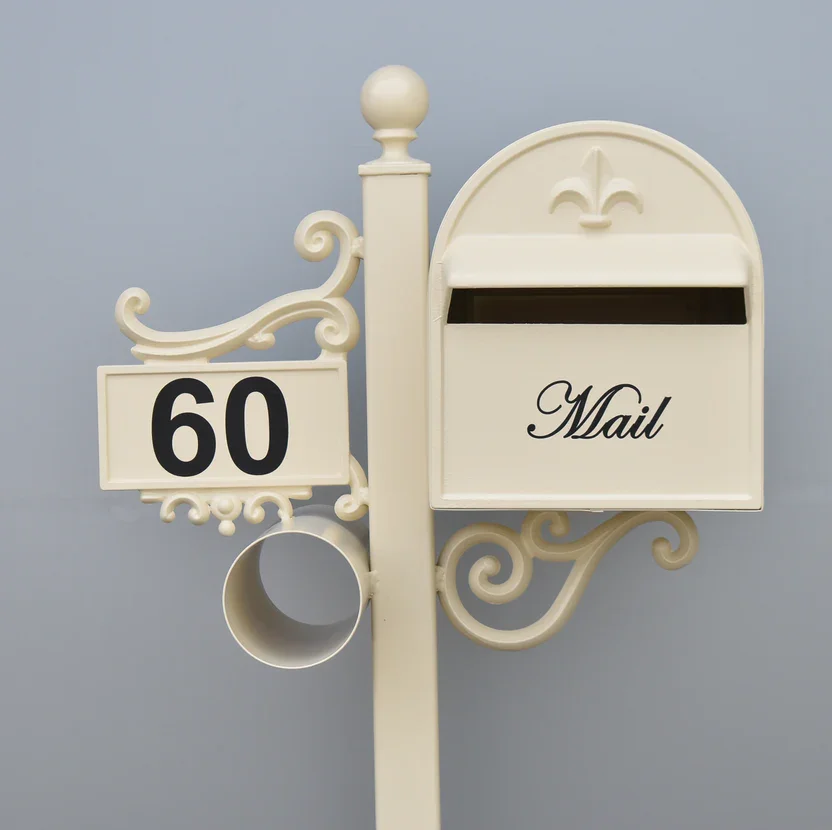
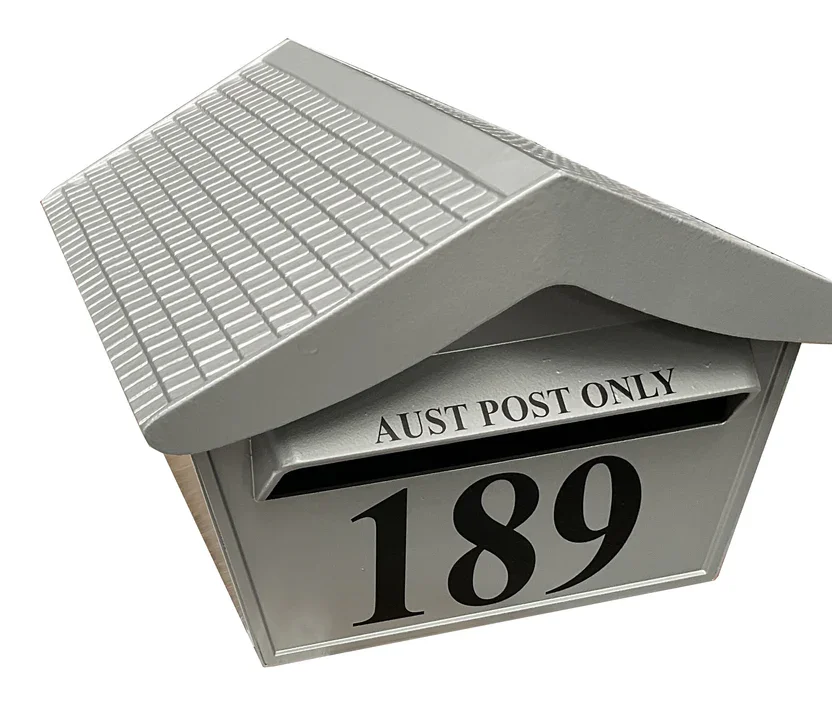
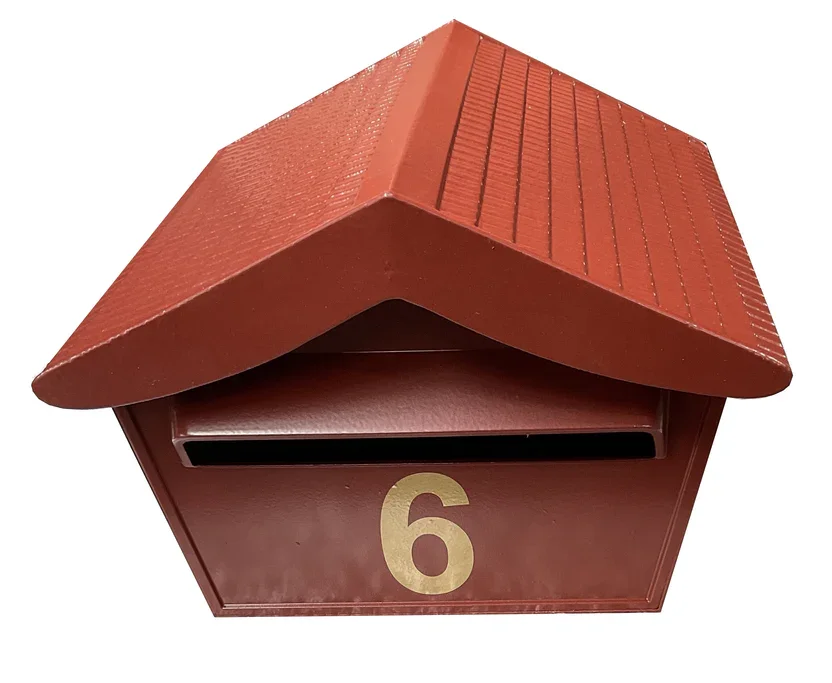
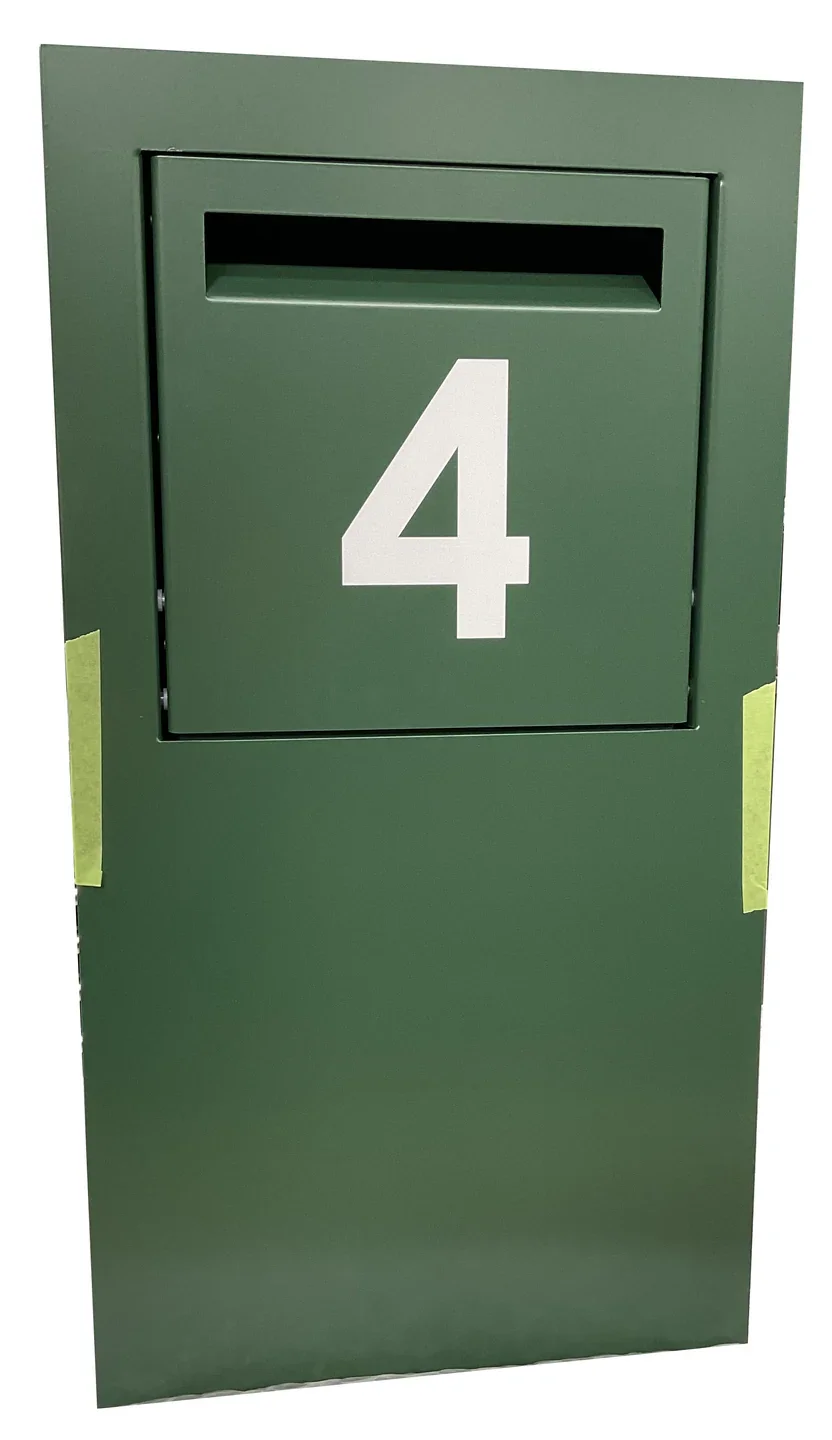

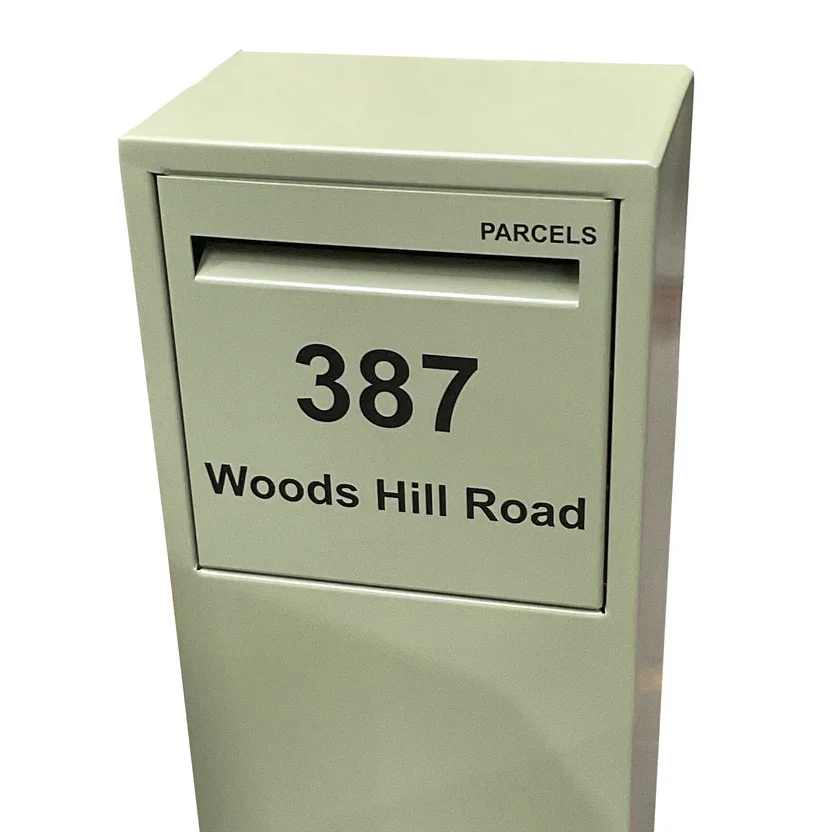
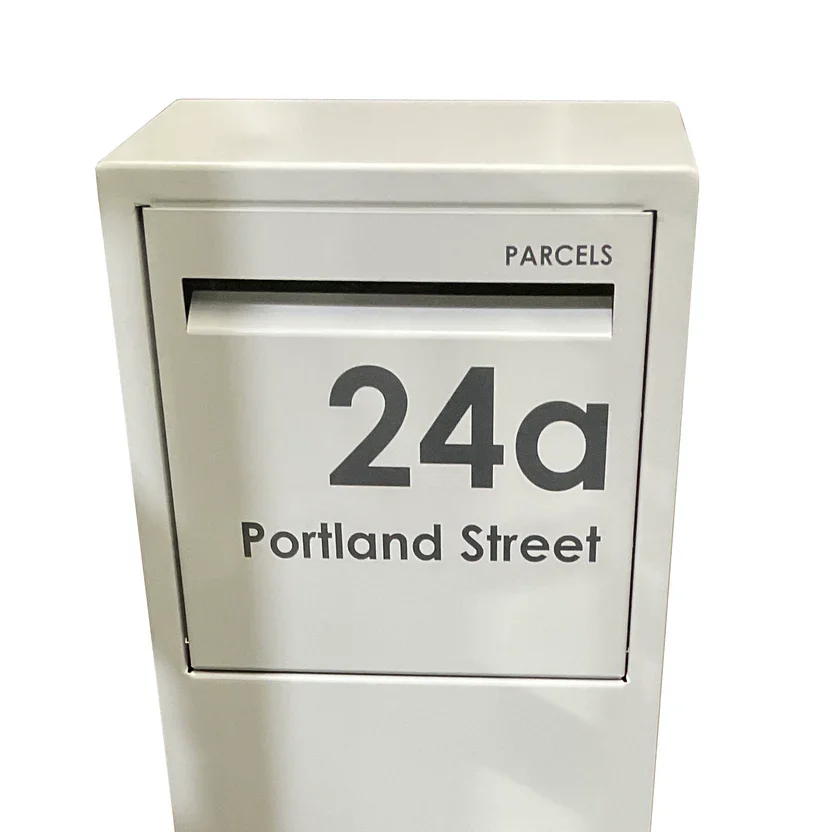
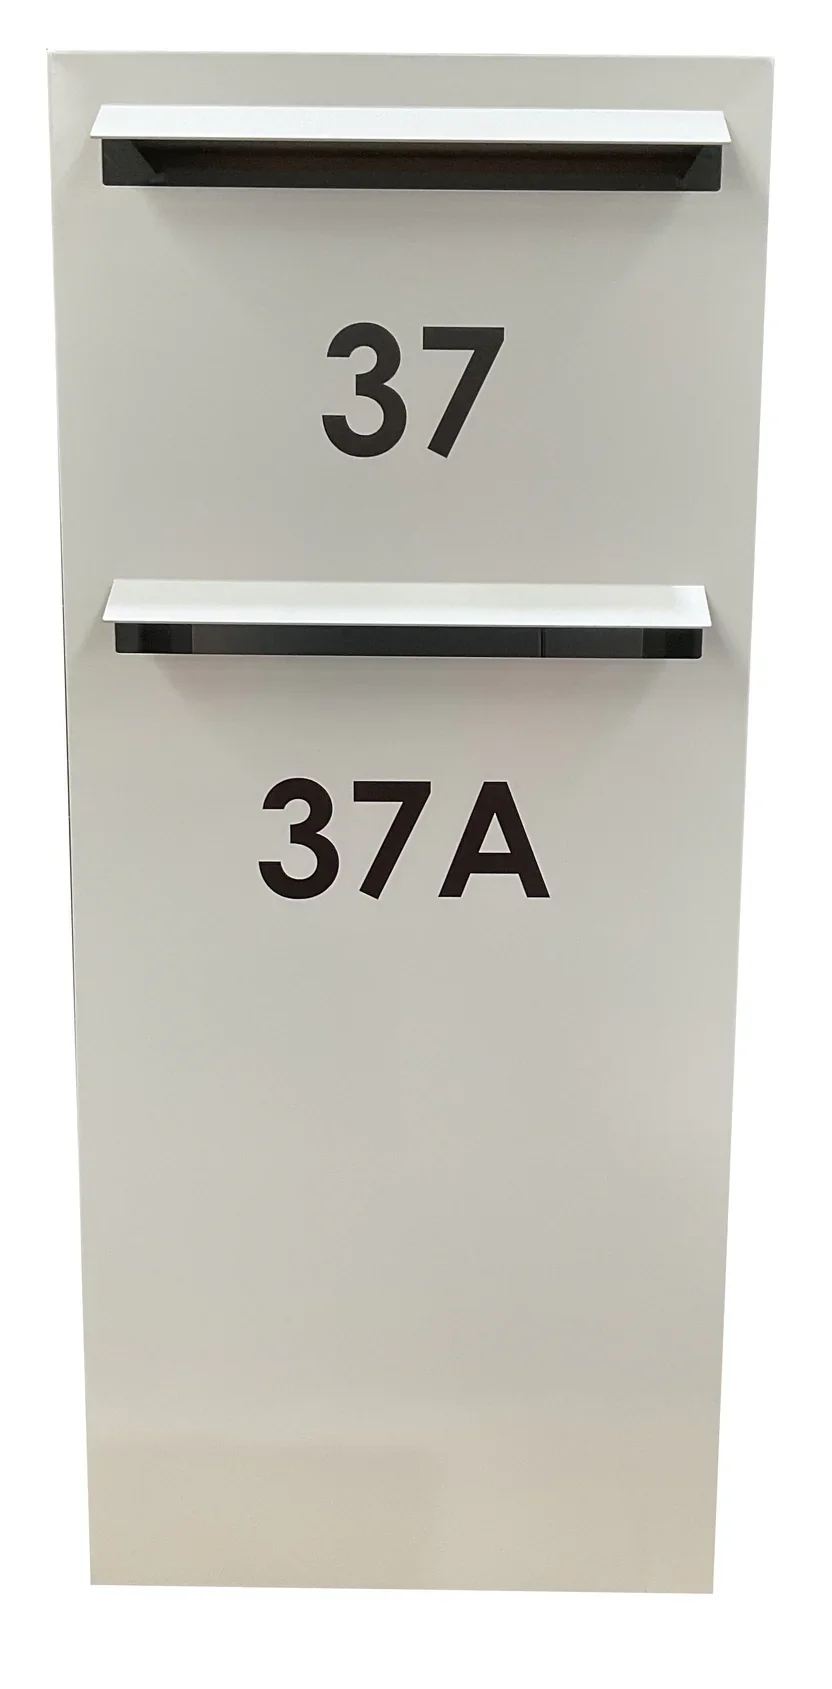

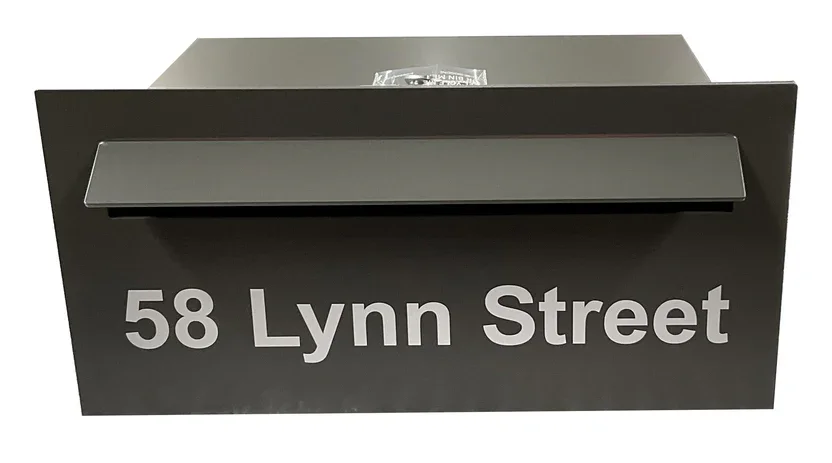
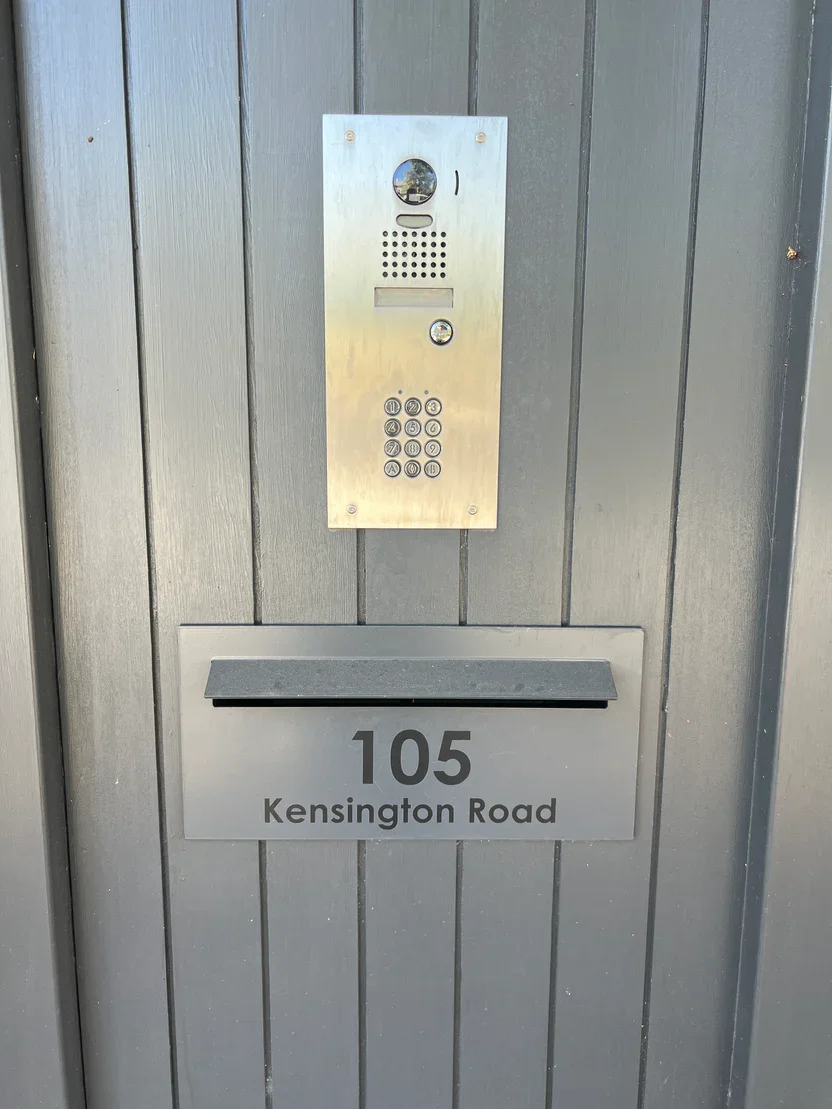
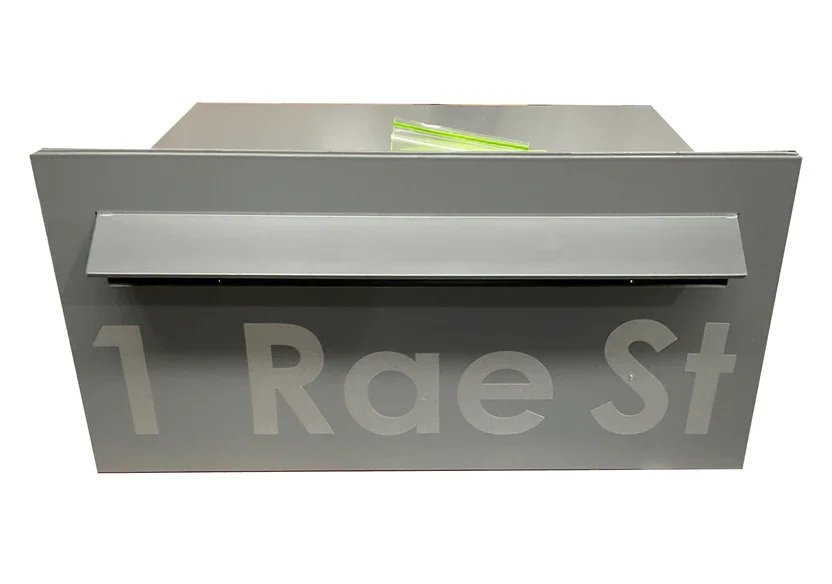
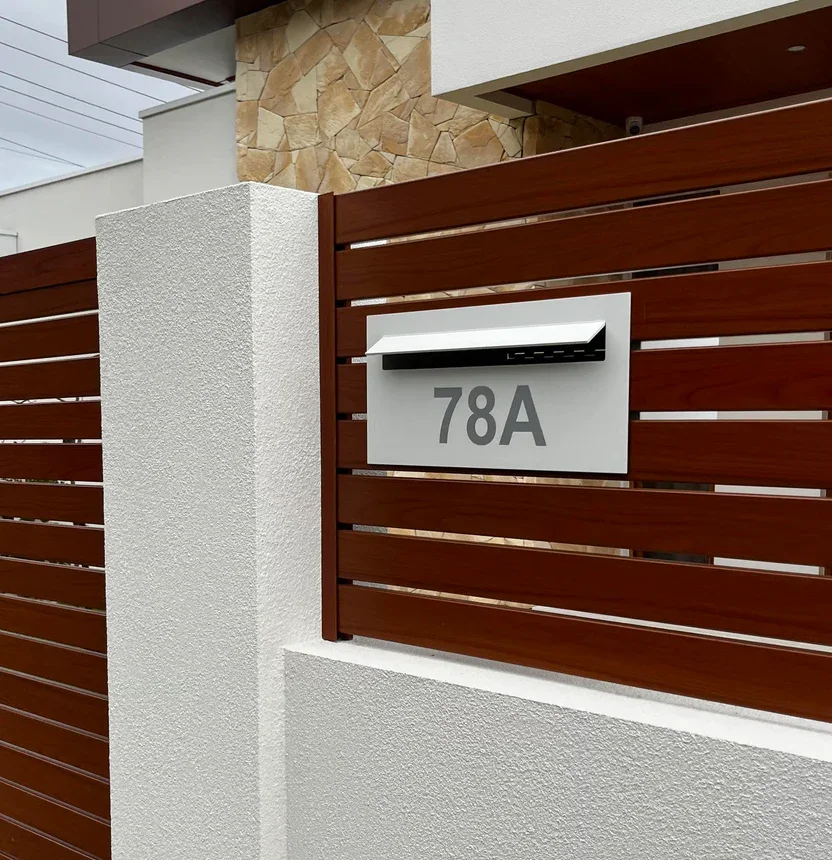
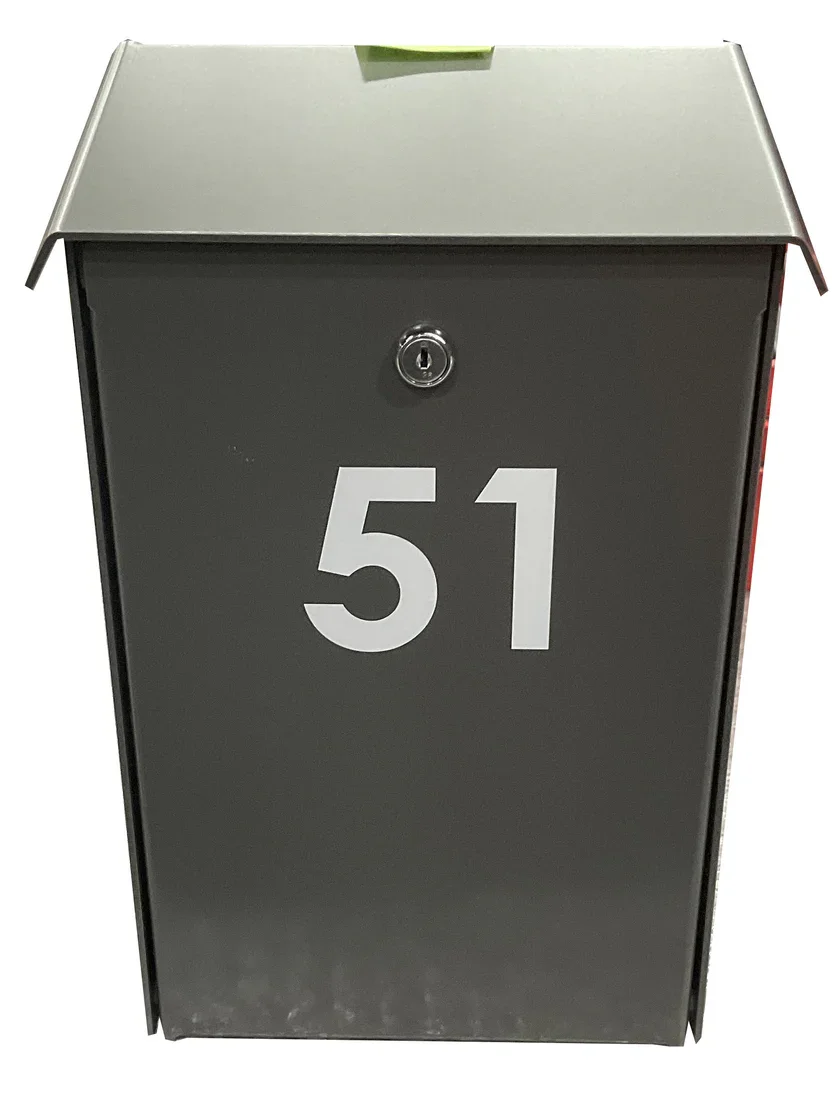
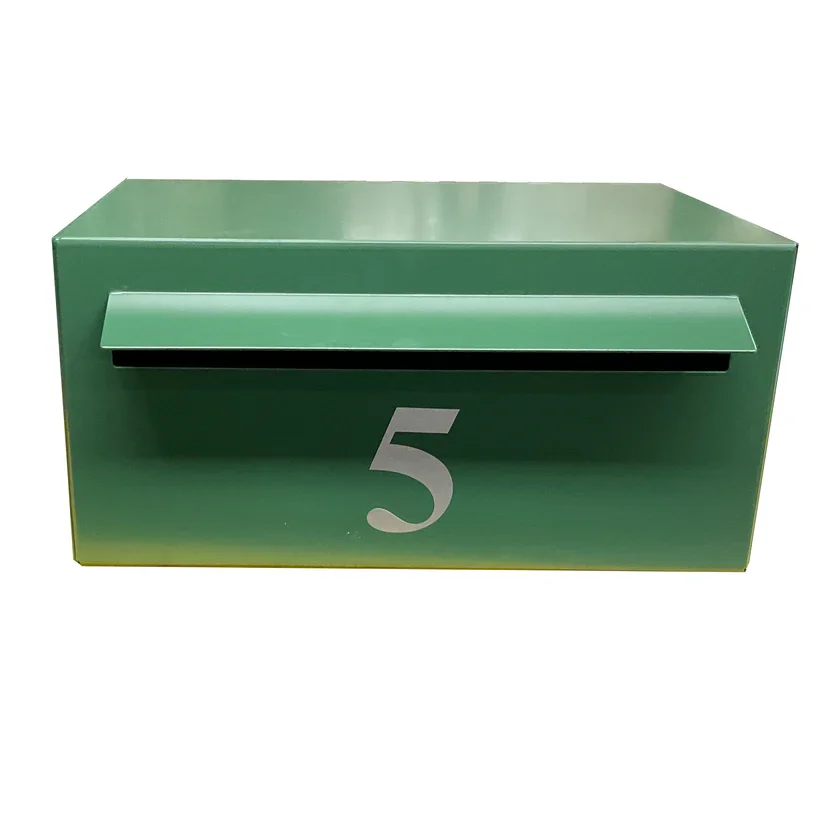
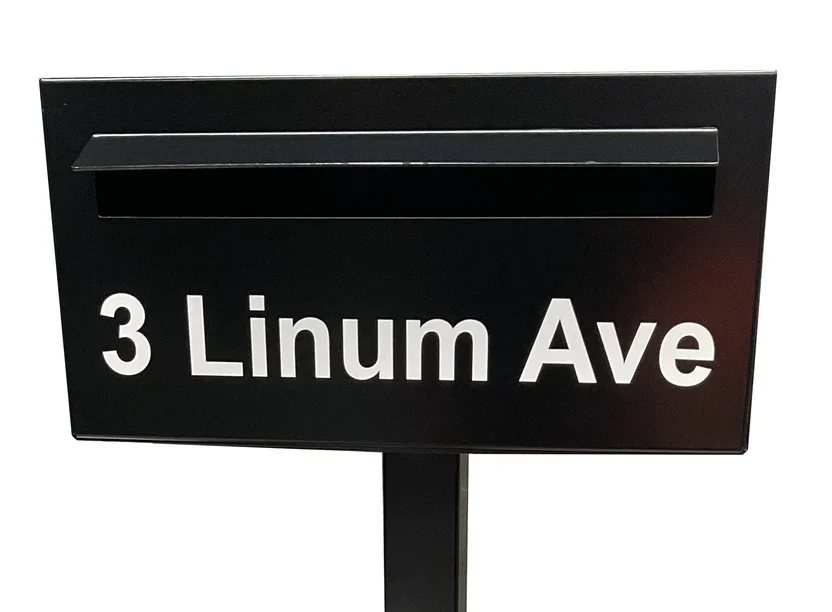
Vinyl Numbers
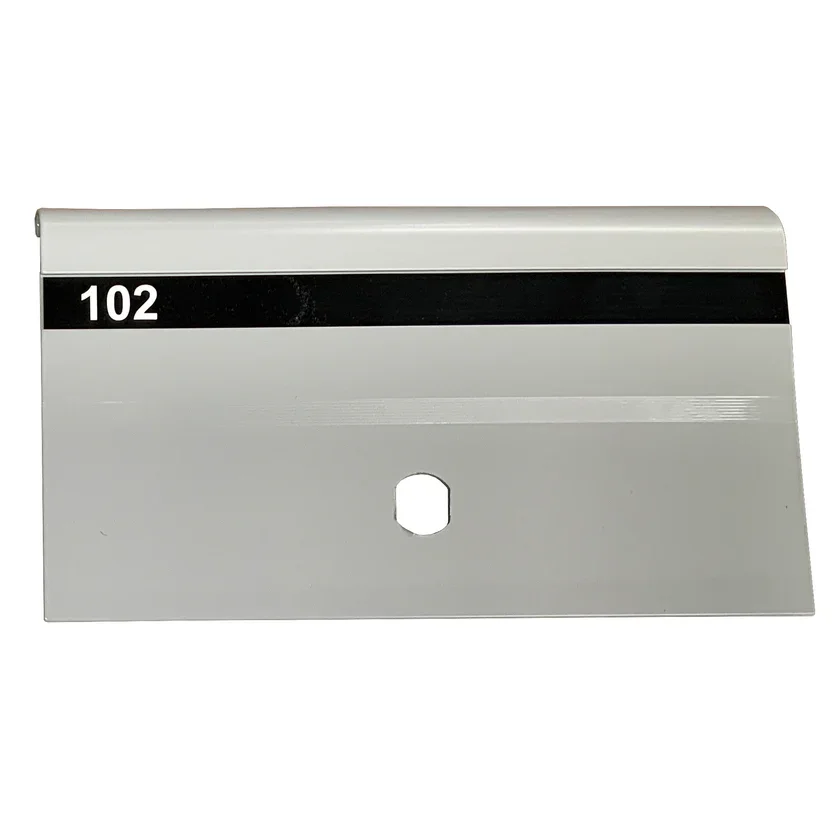
Need new numbers or letters for your letterbox?
We offer these separately from letterboxes, however, please note that if you are buying a new letterbox from us, all numbers and letters are included in the price and are ordered on the same page.
You only need to order here if you need spares, replacements or new letters.
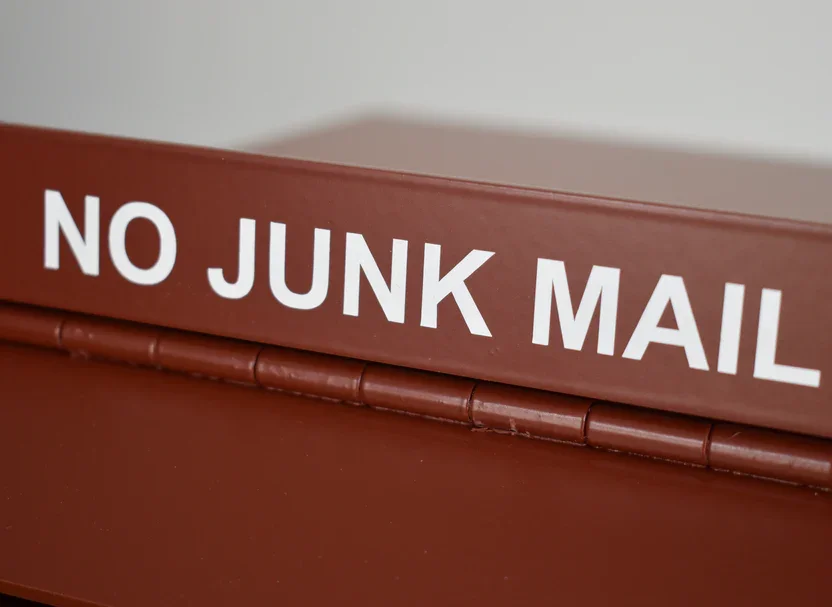
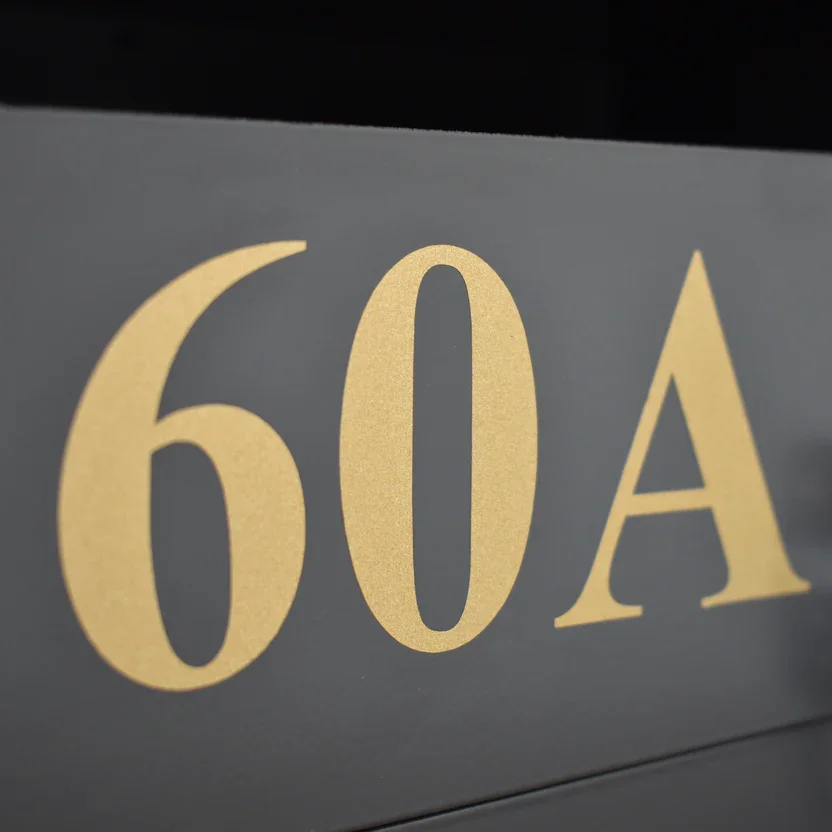
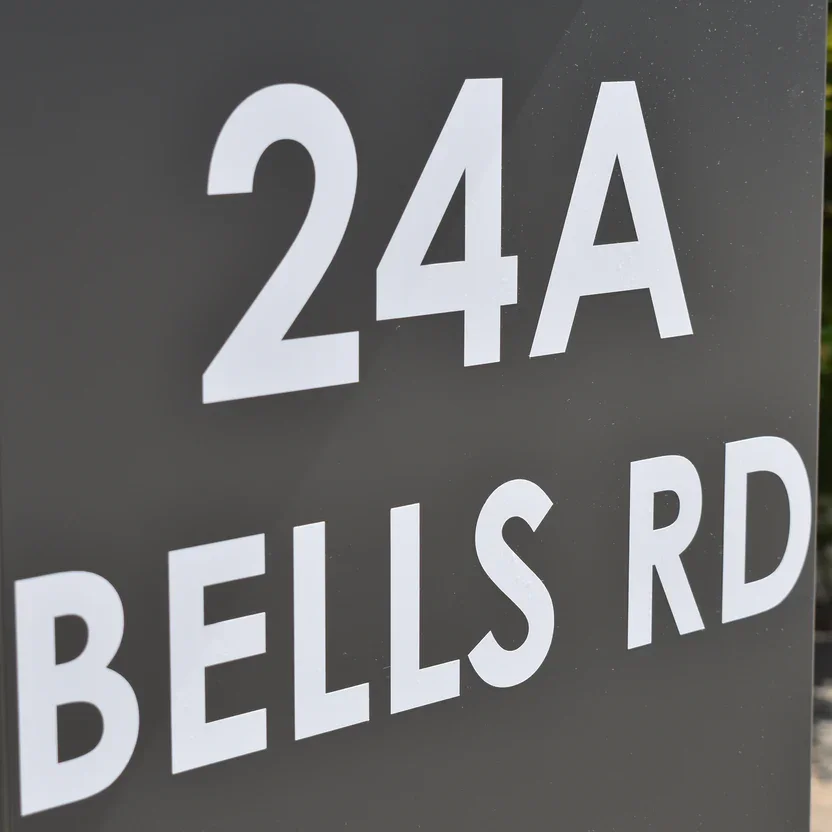
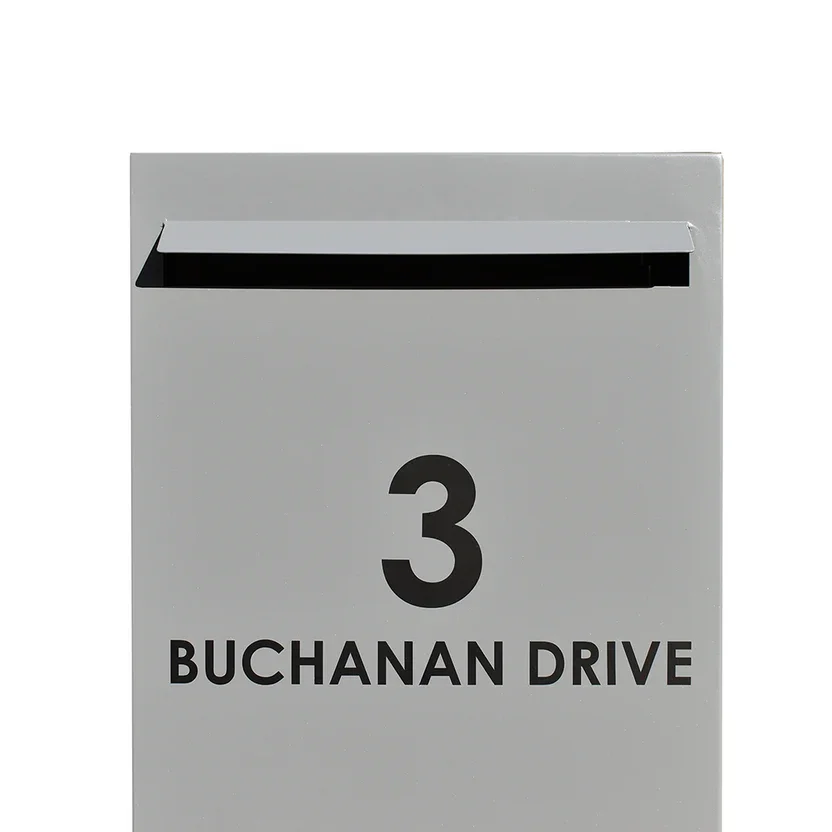
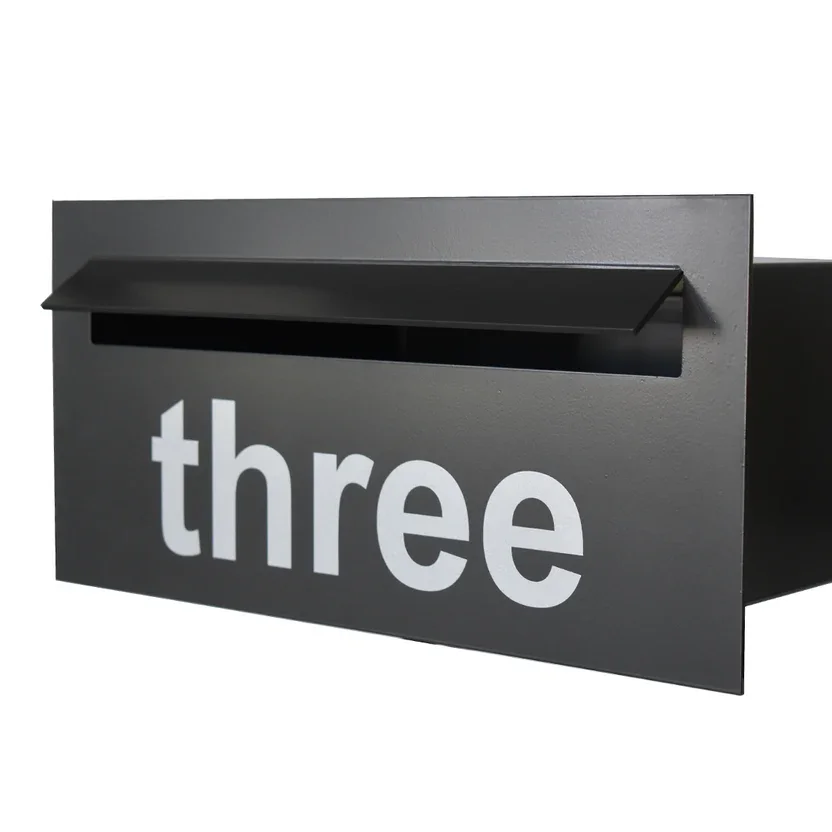
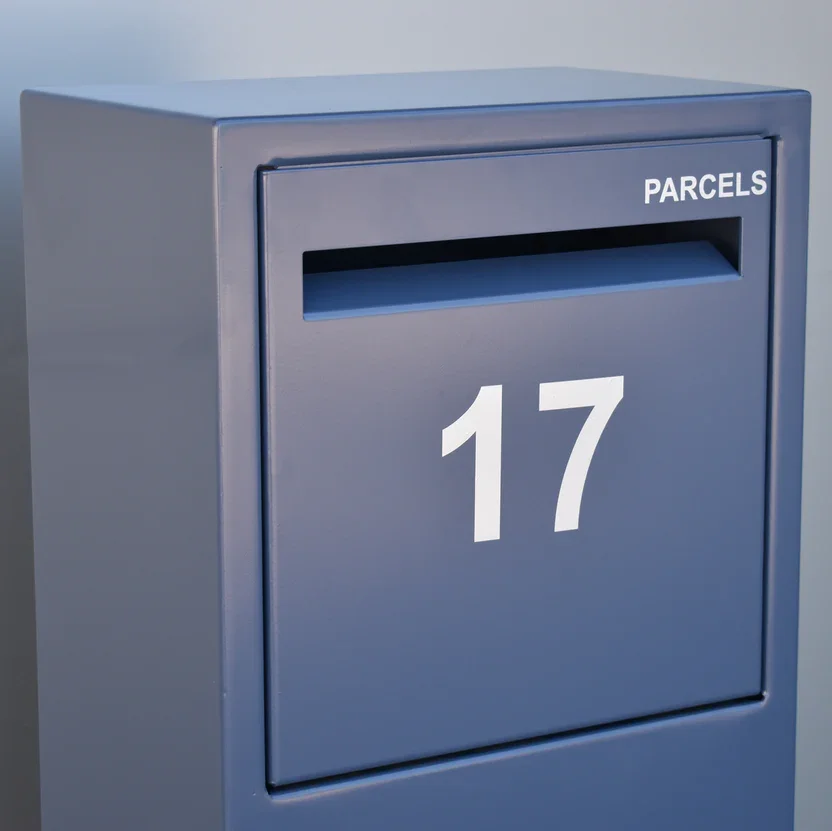
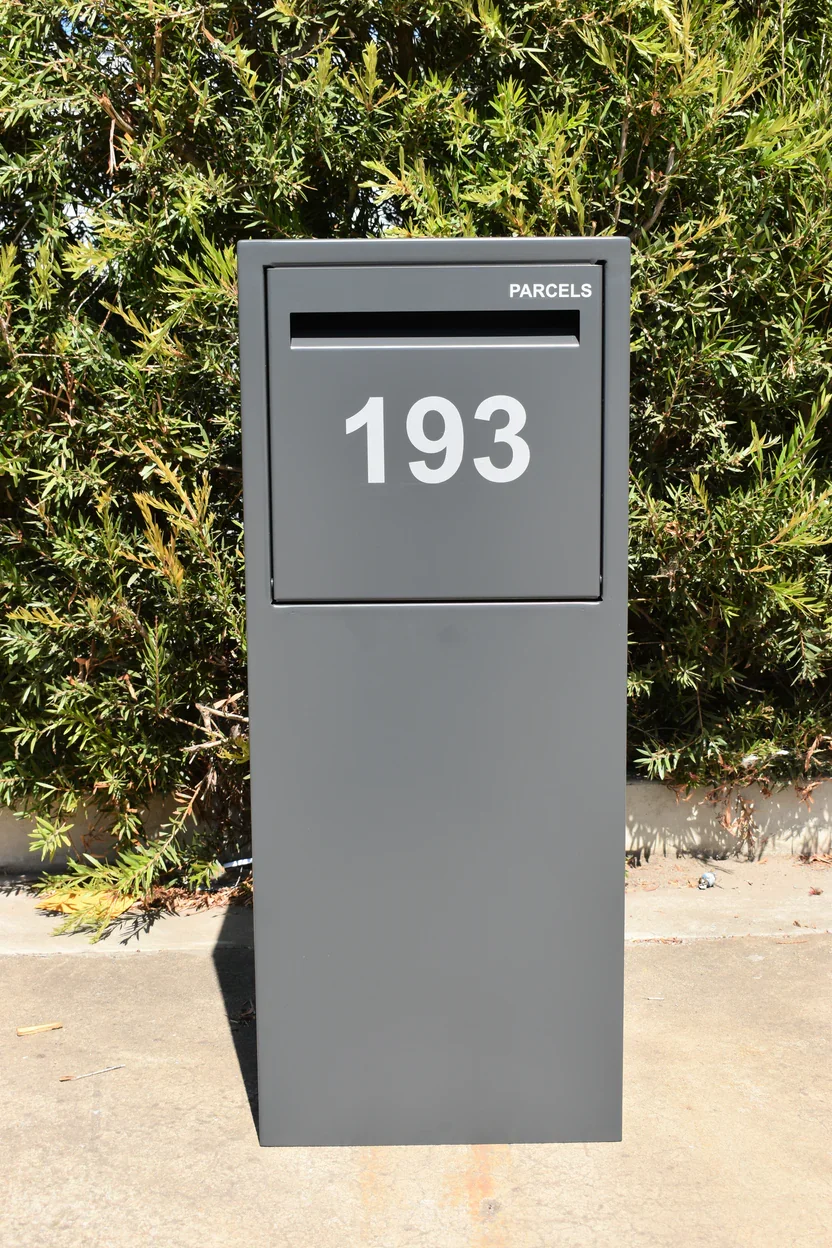
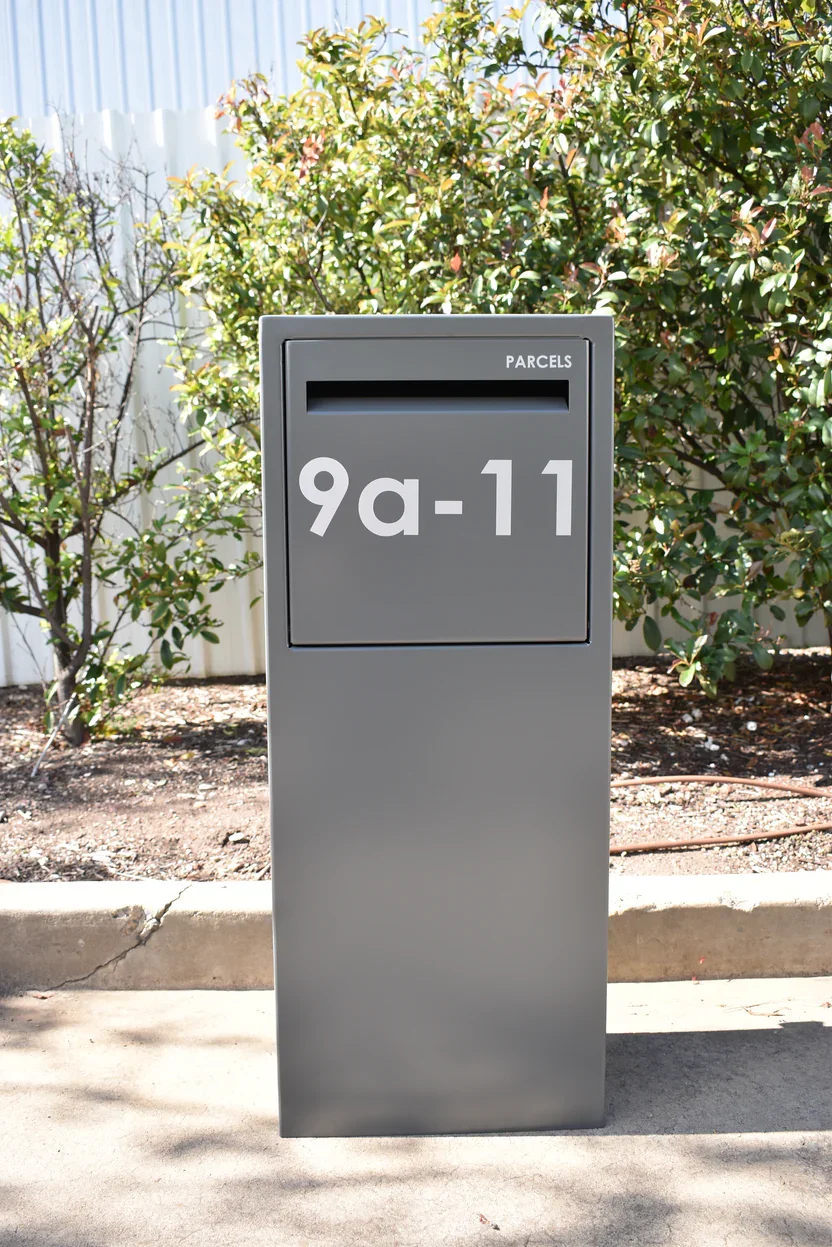
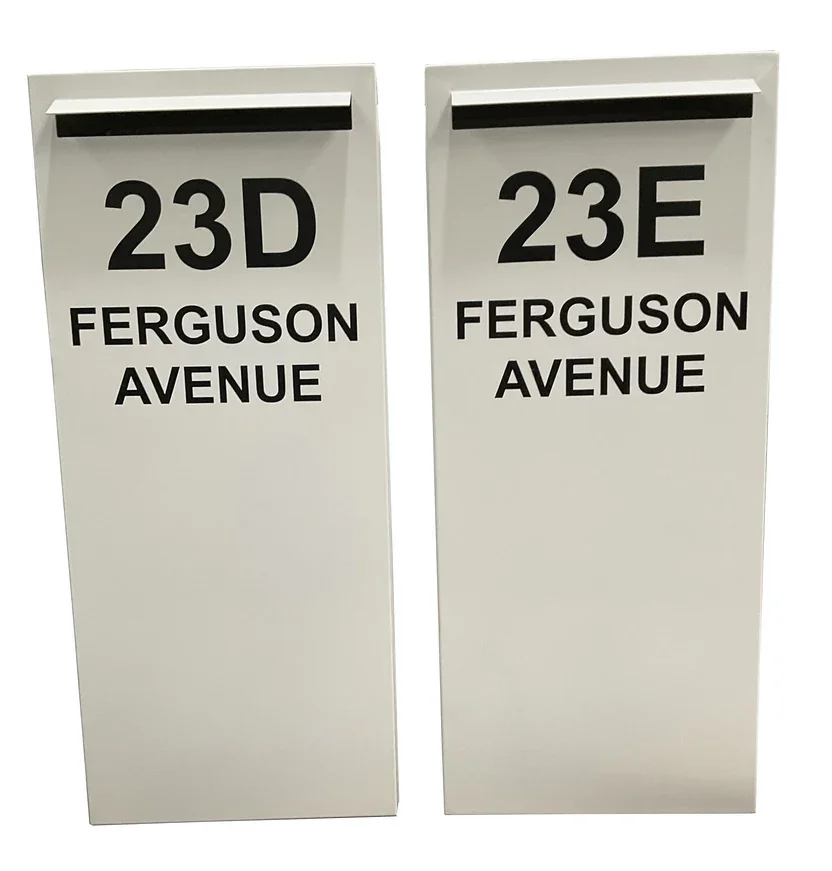
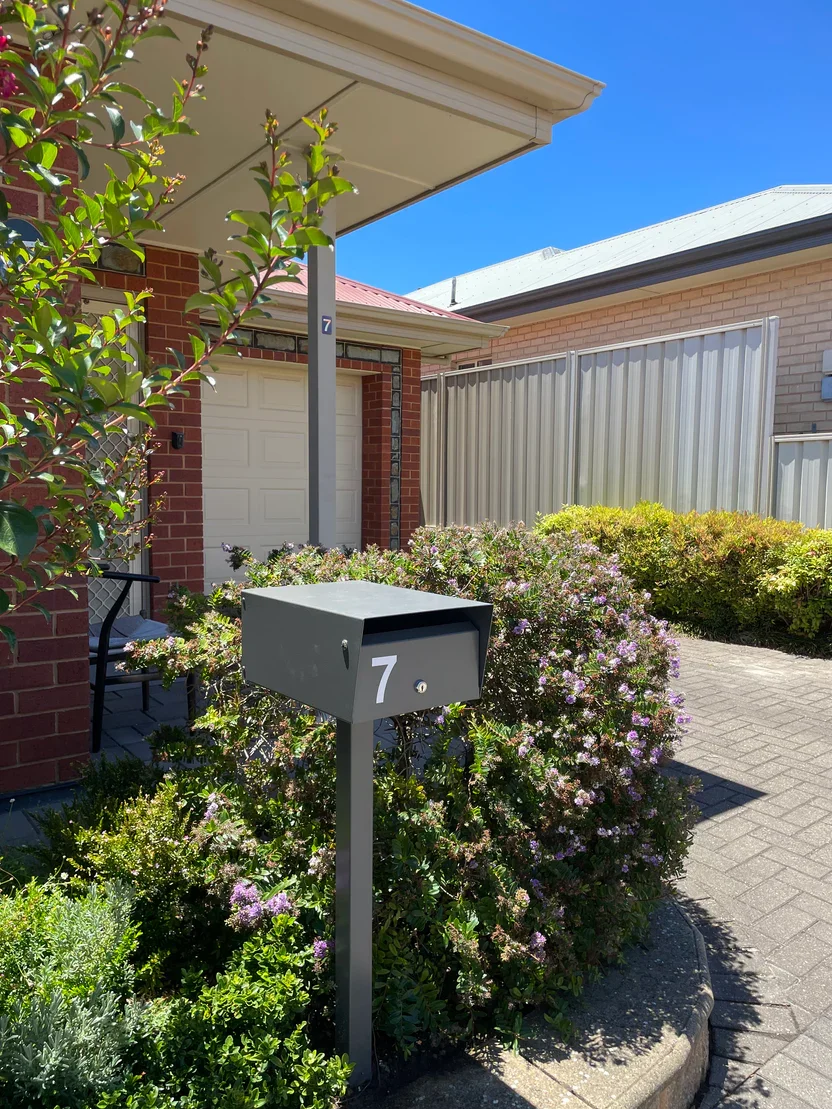
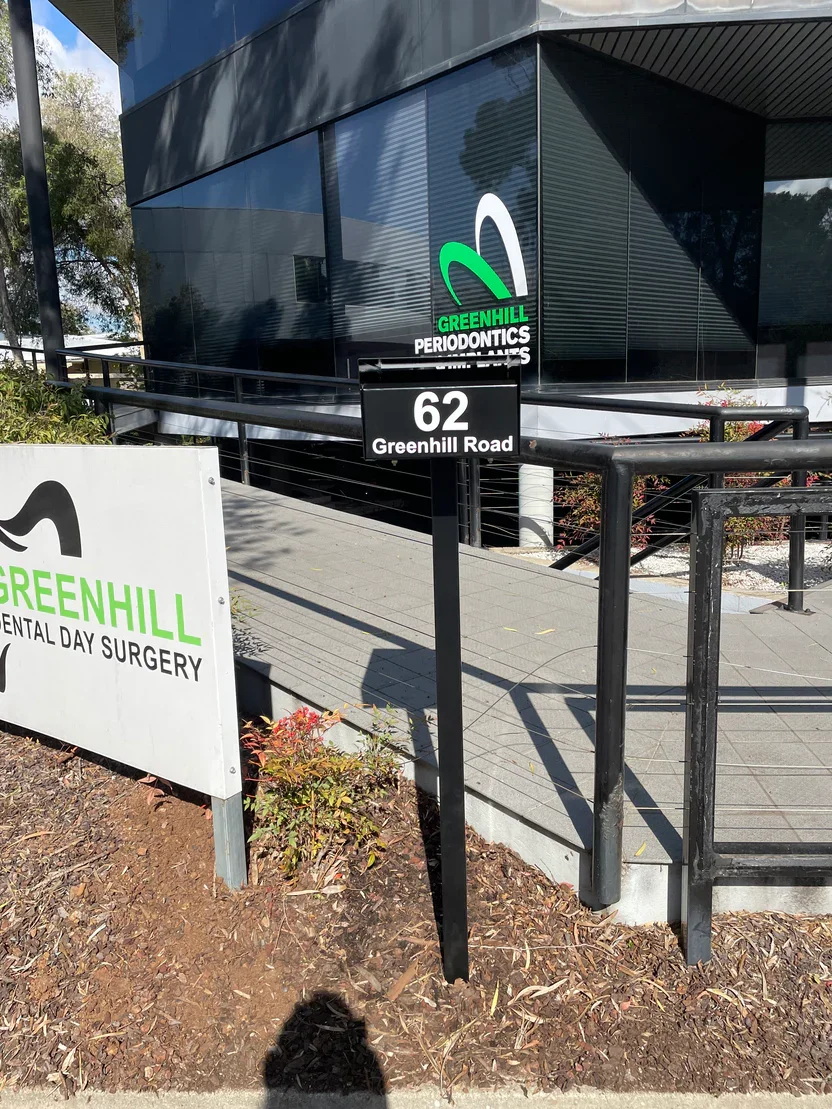
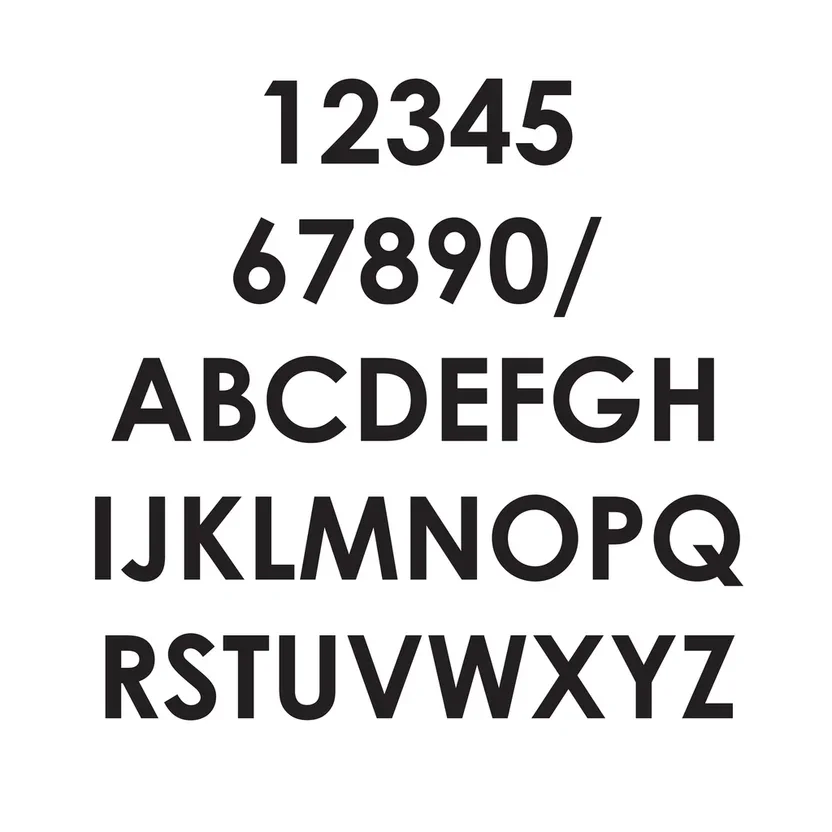
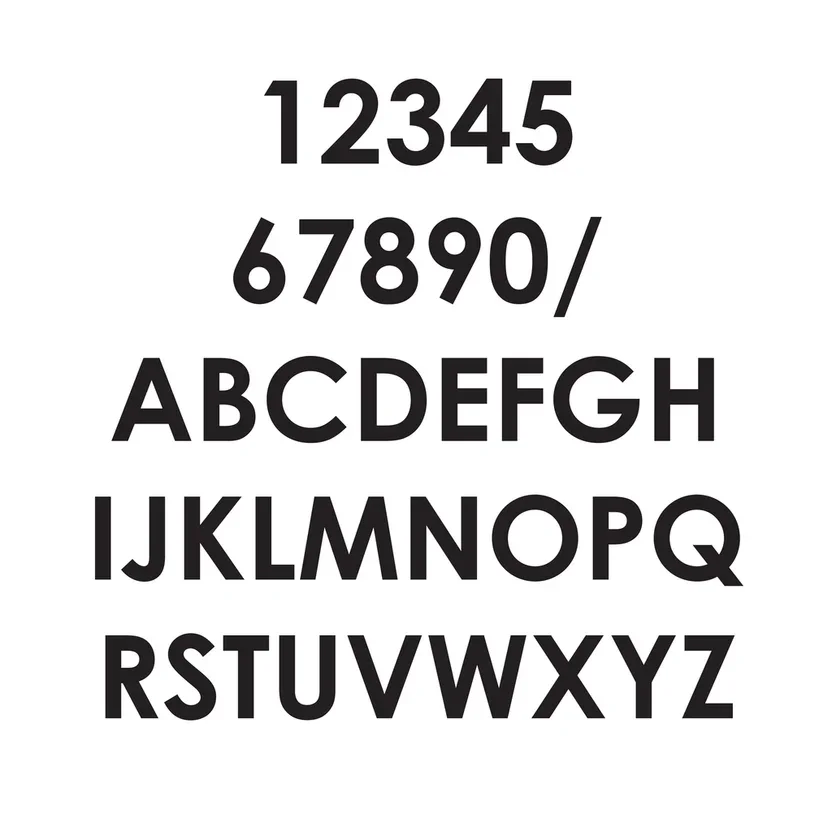
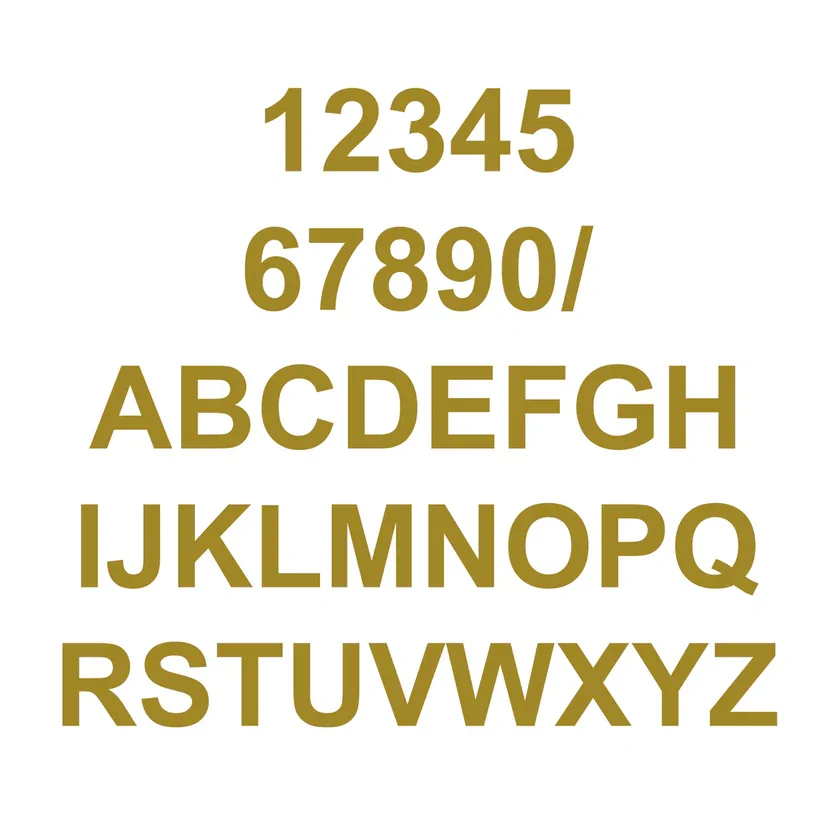
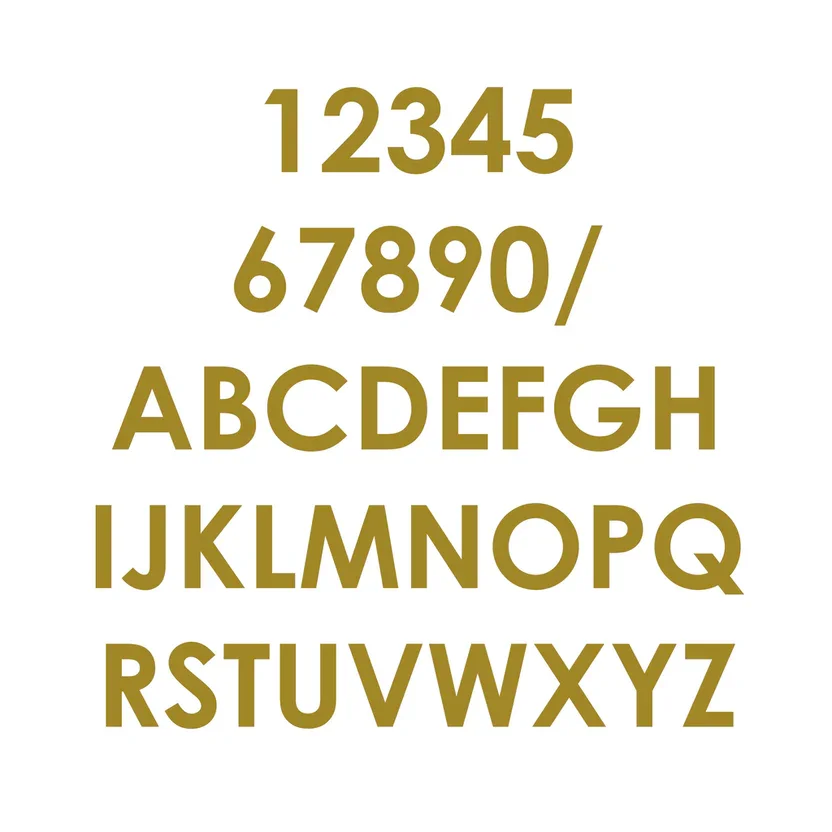
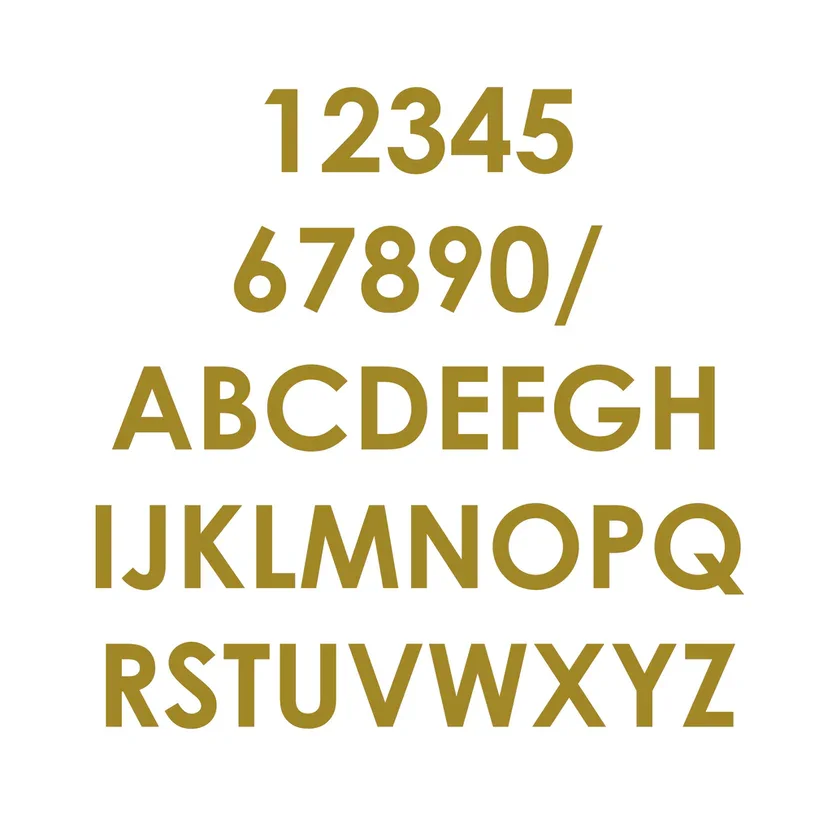
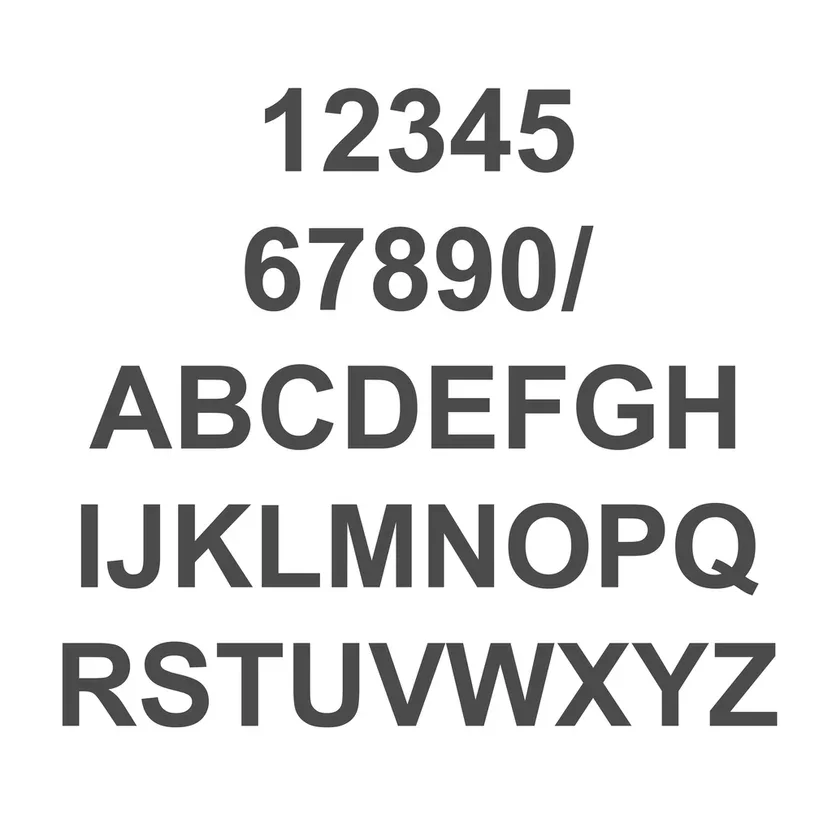
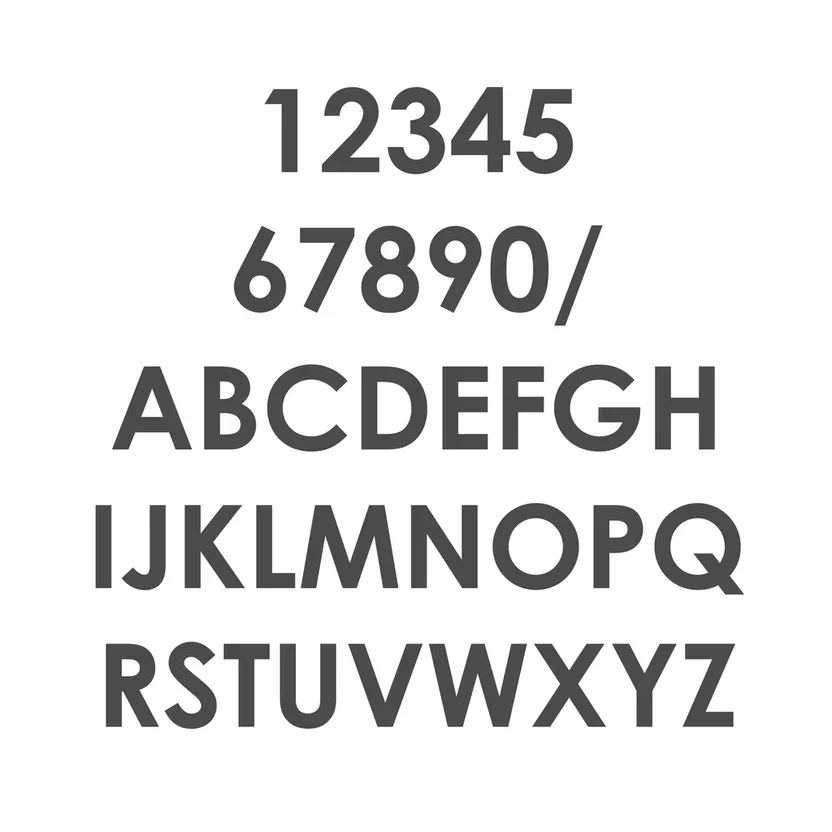
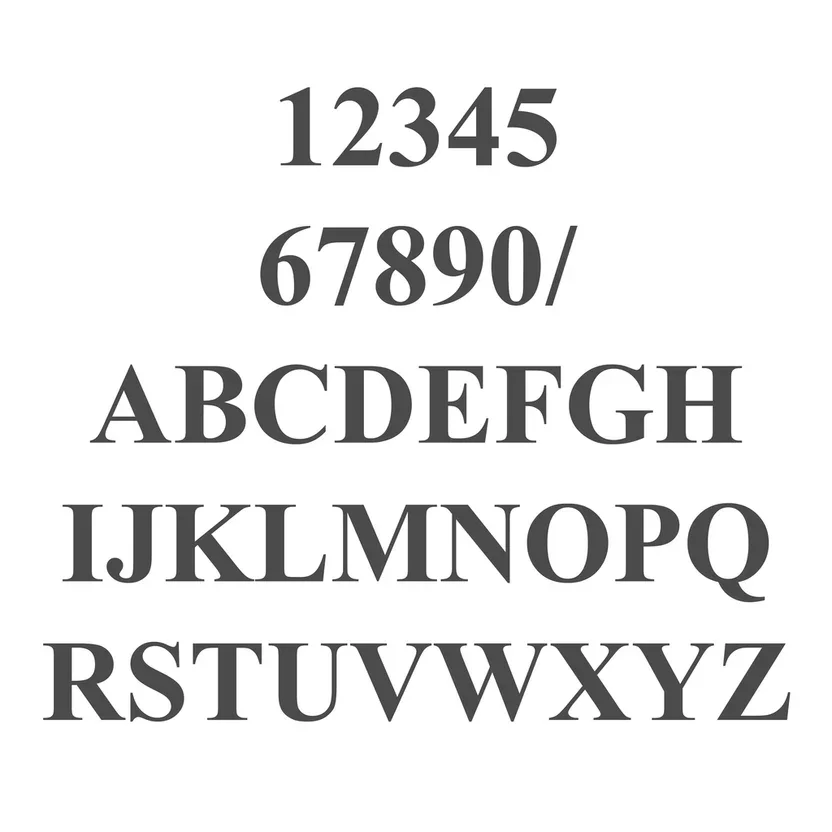
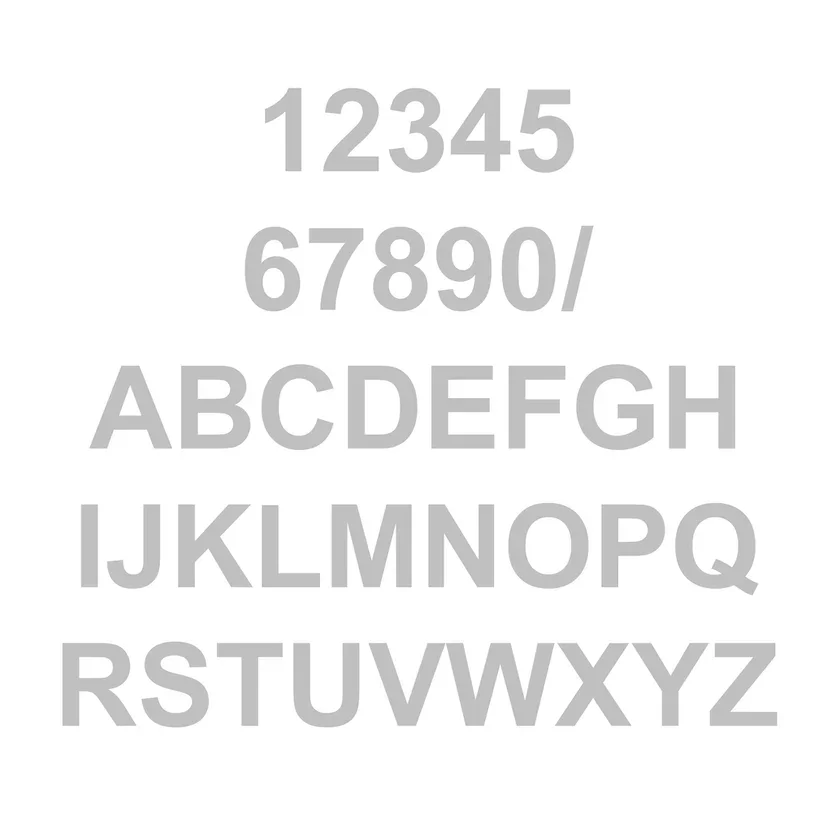
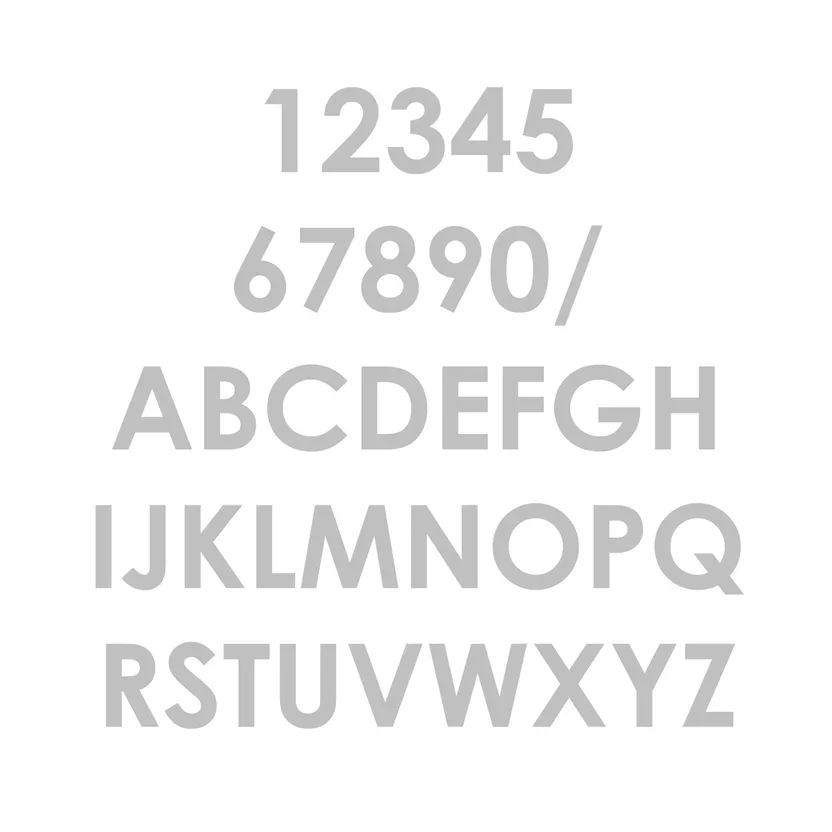
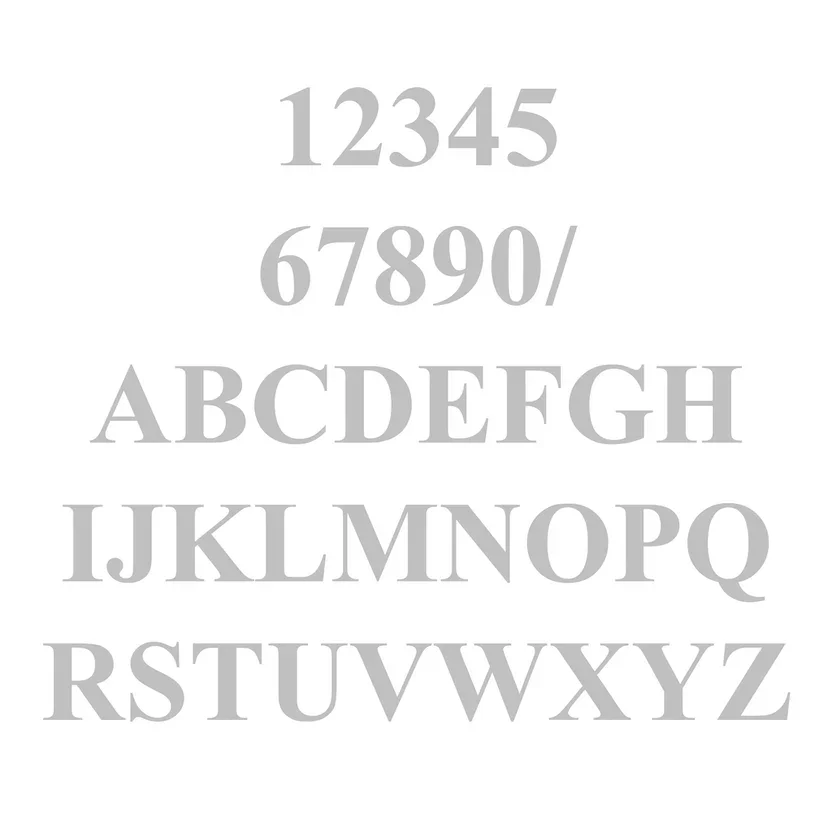
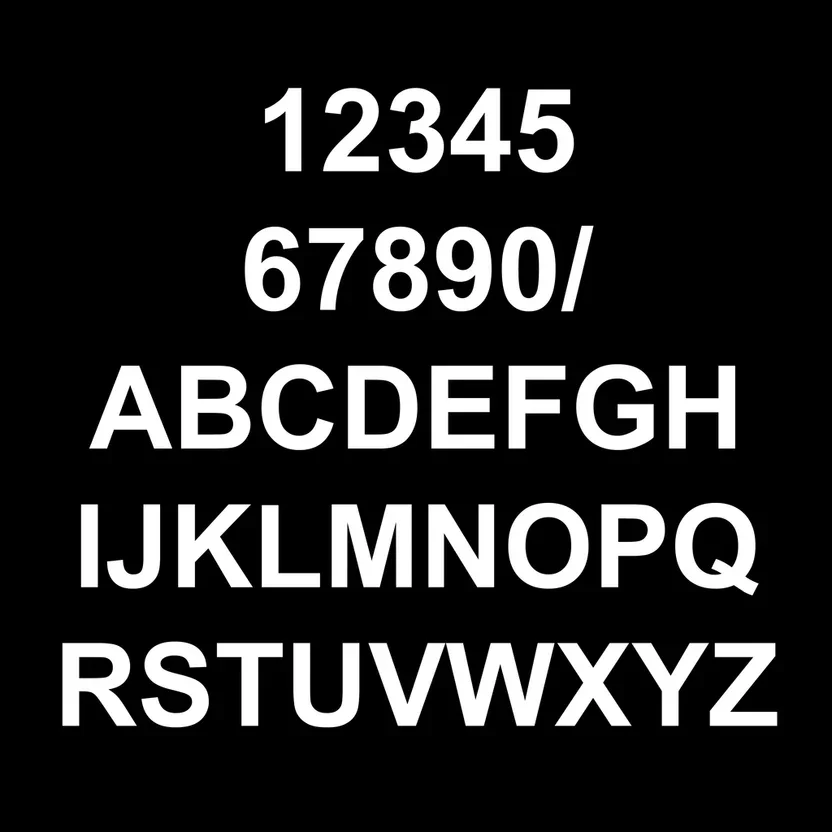
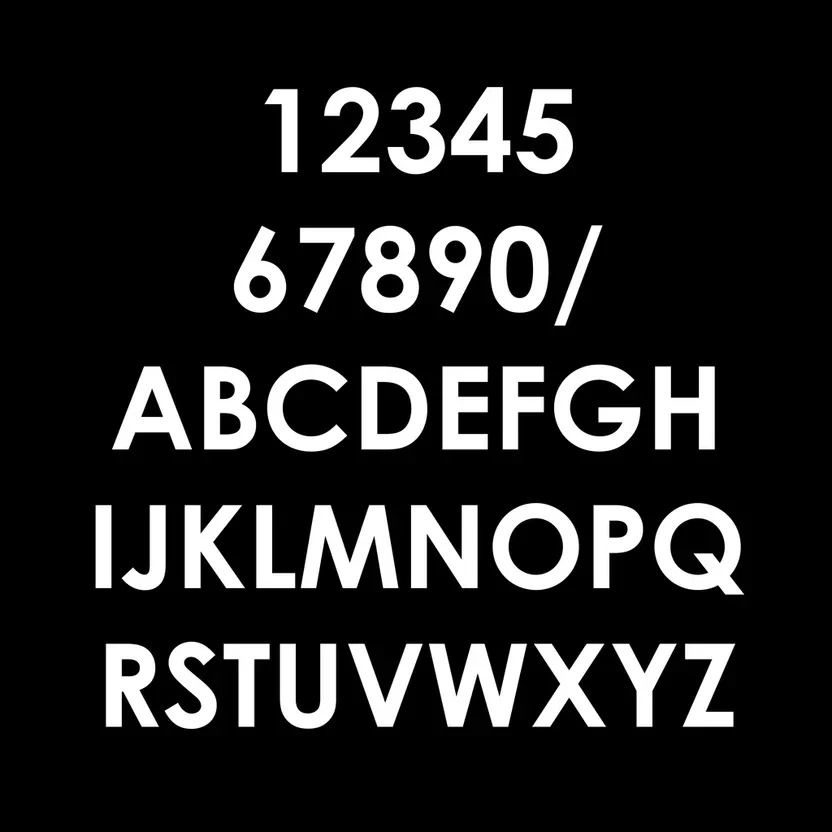
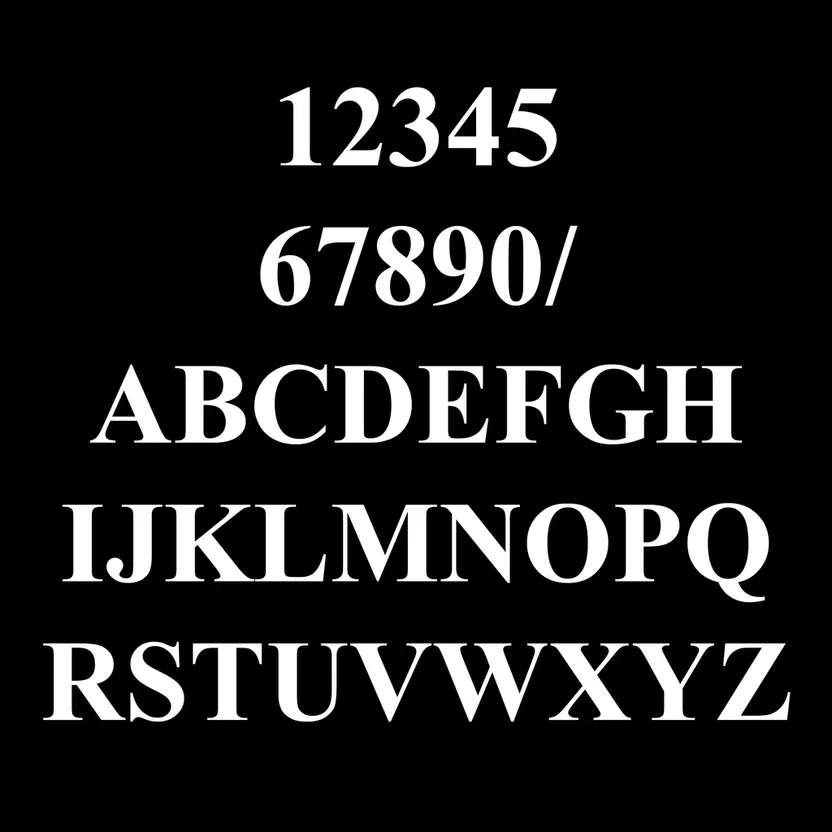
Vinyl numbers offer you the most customisation possible for your numbers. Pick from a few selected fonts that we know look good and are easy to read, as well as several colours and sizes.
The price is per character, so for multiple numbers or letters, add one to cart and then return to this page to add another.
Colours seen in the colour selection drop-down thumbnails and in the product images are computer-generated representations of the powder coat colours. They are not 100% accurate to how the real-life colour will appear, they are merely a guide. Several variables such as lighting and the surrounding environment will have a big impact on how your chosen colour will appear in the flesh.
Specifications & Dimensions
| Specification | Details |
|---|---|
| Dimensions: | 25mm, 50mm, 75mm, 100mm, 150mm high |
| Material | Vinyl |
| Colours | Black, Gold, Grey, Silver, White |
| Font | Arial, Century Gothic, Times New Roman |
| Installation Type | Stick-On |
Installation
Your vinyl will be supplied with a smooth backing tape, and a rough front tape protecting it.
To begin, using a hard, flat object like a spatula, firmly press and drag over the vinyl to help dispel air bubbles, and to adhere the vinyl to the tape.
Make sure the surface you are sticking it to is clean.
Begin to peel the two layers of tape apart, very slowly, making sure that the coloured vinyl stays stuck to the front, rough tape layer.
If you are having trouble and the vinyl is sticking to the rear smooth tape, go back and rub over it, retrying very slowly and carefully. place the vinyl front layer facing down, then separate the two layers and fold the smooth back layer back against itself while rubbing back and forth. This will help to detach the vinyl from the backing tape.
Once it is fully off, position your vinyl at your desired placement on your letterbox, then stick it down. Like before, rub over the vinyl firmly to adhere it to the surface. You can spray the surface with windex before placing the vinyl. This allows you to slide the vinyl around to get position perfect before firmly adhering it.
Slowly and carefully peel the rough tape layer away, making sure the vinyl stays stuck to your surface.
Done.
-
Change of mind is not a valid reason for a refund. However, in some cases we will negotiate with the customer on why they have changed their mind. We may in some cases agree to refund as long as the customer repacks item to proper standard for freight, pays upfront freight costs for return & a return handling fee/restocking fee of 20% the original cost.
All refunds are repaid only as customer’s original payment. For example if a customer paid by credit card, they will be refunded on credit card. All items must be returned in their original condition. All payments for freight & handling fee to be settled before a refund may occur.
Products with numbers attached, whether bolted or stuck on, custom made & laser cut items are not refundable. Any letterbox with post purchase damage or marks is not refundable. All refunds are subject to a 20% restocking fee.
Please ensure you choose wisely, ask questions - we are here to help.
All cancellations and returns will incur a 20% restocking fee and a delivery fee from the place of pick up to the My Professional Services factory. Alternatively, you may wish to organize your own transport at your own cost, to return the goods. Any refunds will only be given once the goods have been returned, inspected and are deemed to be...
1. Not used or installed.
2. In new condition without any scratches, dents or marks that may occur through transport and use that will require that product to be refurbished in any way, for re-sale. This includes packaging.
3. Free from customised features such as attached numbers, water jet cut outs etc.
Proof of purchase is always required.
-
Shipping Options
You will only be offered one shipping option for your order. We use two couriers, TNT/FedEx and Australia Post. Depending on the size, weight and volume of your order, you will be offered the corresponding service.
TNT/FedEx - Technology Sensitive express
Australia Post - Parcel Post
Shipping Costs
After adding your product to the cart and proceeding to the checkout, you will be prompted to enter your delivery address. From here we use a service that delivers live rates from couriers to provide a price based on order size, weight, volume and your shipping location. My Professional Services has no control over these prices.
Your order may be subject to further fees such as a redelivery fee of $25 if the initial delivery attempt by the courier is unsuccessful.
Local Pickup
We offer a pickup service for those that are able. If this option is selected there are no further charges. Once your order is ready you will receive a notification to let you know your order is ready to pickup from our factory address at...
60 Kinkaid Avenue, North Plympton SA 5037.
Order Lead Times
Letterbox manufacturing can take several days or weeks to complete. We can not make any promises as to delivery times and lead times. You will receive tracking information once your order has left our premises.
Freight
My Professional Services carries insurance for all goods freighted. Once goods are set down at designated drop off point, they are no longer insured by My Professional Services. Therefore, the customer needs to give clear instructions on where goods are to be delivered. My Professional Services is not responsible for any goods lost, stolen or damaged after they have been signed over to the customer, their designated person or dropped at a stop instructed by the customer, (except in the event of damage which has occurred whilst being freighted as outlined below).
If no person is available to sign or no instructions have been left for the drop off of goods, then the goods may be taken back to the nearest depot and cost to retrieve goods will be the responsibility of the customer. My Professional Services packages all goods appropriately to avoid and or minimize any damage being sustained during freight. Unfortunately, damage can occur which is beyond our control. It is the customer's responsibility to look over the goods when signing for delivery and making a note on the delivery cartnote of any damage they perceive.
In the event that no damage was perceived, and the customer has acknowledged that the goods have been delivered in good order and condition. It is the customer's responsibility to unwrap and inspect goods within the first 48 hours of taking delivery. If damage is evident, the customer must notify My Professional Services within this set time, in writing, outlining all damage sustained, accompanied by photographic evidence to this effect.
My Professional Services require the goods to be repacked by the customer to an adequate standard for freight. In most cases, My Professional Services will have damaged goods refreighted back to our factory, where goods will be inspected. In cases where claim of damage is proven - replacement of same will be sent back to customer. All goods must be returned in same condition as sent, except for damage sustained in freight. Claims of damage are limited to damage to goods only.
My Professional Services does not cover any consequential loss or damage suffered by the customer as a result of the damage of goods.
Ordered Goods
It is the customer's responsibility to check over their goods within 48 hours of receiving them to ensure that the item/items are exactly what was ordered. Faulty items need to be sent back to My Professional Services.
My Professional Services require the goods to be repacked by the customer to an adequate standard for freight. In most cases, My Professional Services will have goods refreighted back to our factory, where goods will be inspected. All goods must be returned in same condition as sent. My Professional Services will view and determine if item is faulty or not what was ordered. If the item is deemed to be in good working order, not damaged and represents what was ordered then the cost of freight will be at the customer's expense.
Change of mind and not liking what was ordered from the website is not deemed as sufficient for return or refund. If My Professional Services is notified within 48 hours of customer receiving goods and an item is deemed to be either faulty or not what was ordered, then My Professional Services will make all reasonable efforts to correct the situation.
INSPECT YOUR DELIVERY FOR DAMAGE
Your package should arrive securely wrapped. If this is not the case please take a photo and contact us immediately.
INSPECT YOUR LETTERBOX
Verify: The model, colour, number and lock type match your order.
Count: Ensure the number of items matches your order.
Check: If you ordered keys with your letterbox, make sure they are included.
MAKE SURE THIS IS NOT THROWN OUT IN THE PACKAGING.
Inspect: All items for defects or damage.
If defects or damage has occurred:
Notify nathan@myprofessionalservices.com.au within 48 hours of delivery being made to ensure we are able to act promptly. Include detailed photos, details of what has occurred and the sales invoice/order number.
WE WILL NOT ACCEPT any claims for damaged goods after 10 days from receipt of goods. Goods must be installed and used within 8 weeks of receipt.
Finally, enjoy using your new letterbox!
-
All My Professional Services have a 5 year manufacturer's guarantee. Locks have a 1 year warranty.
Upon the event of any problems, we require you to contact us with pictures, proof of purchase receipts and a thorough explanation of the problem.
What is not covered?
Products & Installation
This warranty does not cover improper installation done by an installer other than My Professional Services. The policy also does not cover general daily wear & tear, misuse or field repairs by the customer/and or user.
No guarantee can be made for the powder coat warranty where certain weather conditions such as extreme heat, rain or seaside air causes part discolouration, damage caused by use of abrasive cleaners, bleach or other harmful chemicals or where atmospheric pollution can make an impact. Rust and corrosion are not covered under warranty as they are situational due to the above mentioned conditions.
Warranty does not cover lost or misplaced keys. Locks must be lubricated every 6 months or the warranty is invalid.
Waterproof
We do not guarantee that our letterboxes are waterproof but they do conform to ‘Water Resistant’ conditions. Whilst we endeavour to make all boxes as weather resistant as possible with weatherhoods, boxes can be subject to certain geographic conditions such as high winds & rains. Some leakage may occur through folds, doors or even the slot – we also advise keeping junk mail away from slot. Junk mail can sometimes act as a funnel for rain, which runs directly into the box.
Vandalism
Although we manufacture our letterboxes from high quality, thick aluminium to discourage vandalism, our warranty does not cover damage caused by members of the public.
-
We take every step possible to manufacture our letterboxes to be as waterproof as possible, however we cannot ever guarantee total 100% water tightness. Due to the design of the boxes and the need for them to be usable, there will always be small openings that water may leak through. The mail slot, the hinge and rear door require gaps and unfortunately water can be very sneaky at times.
If you are having troubles with your mail getting wet, try placing a wire rack on the base of the letterbox to elevate mail off the bottom where water might pool, or put a towel in the box to soak up excess water.